
Setting Up Your System
Step 1
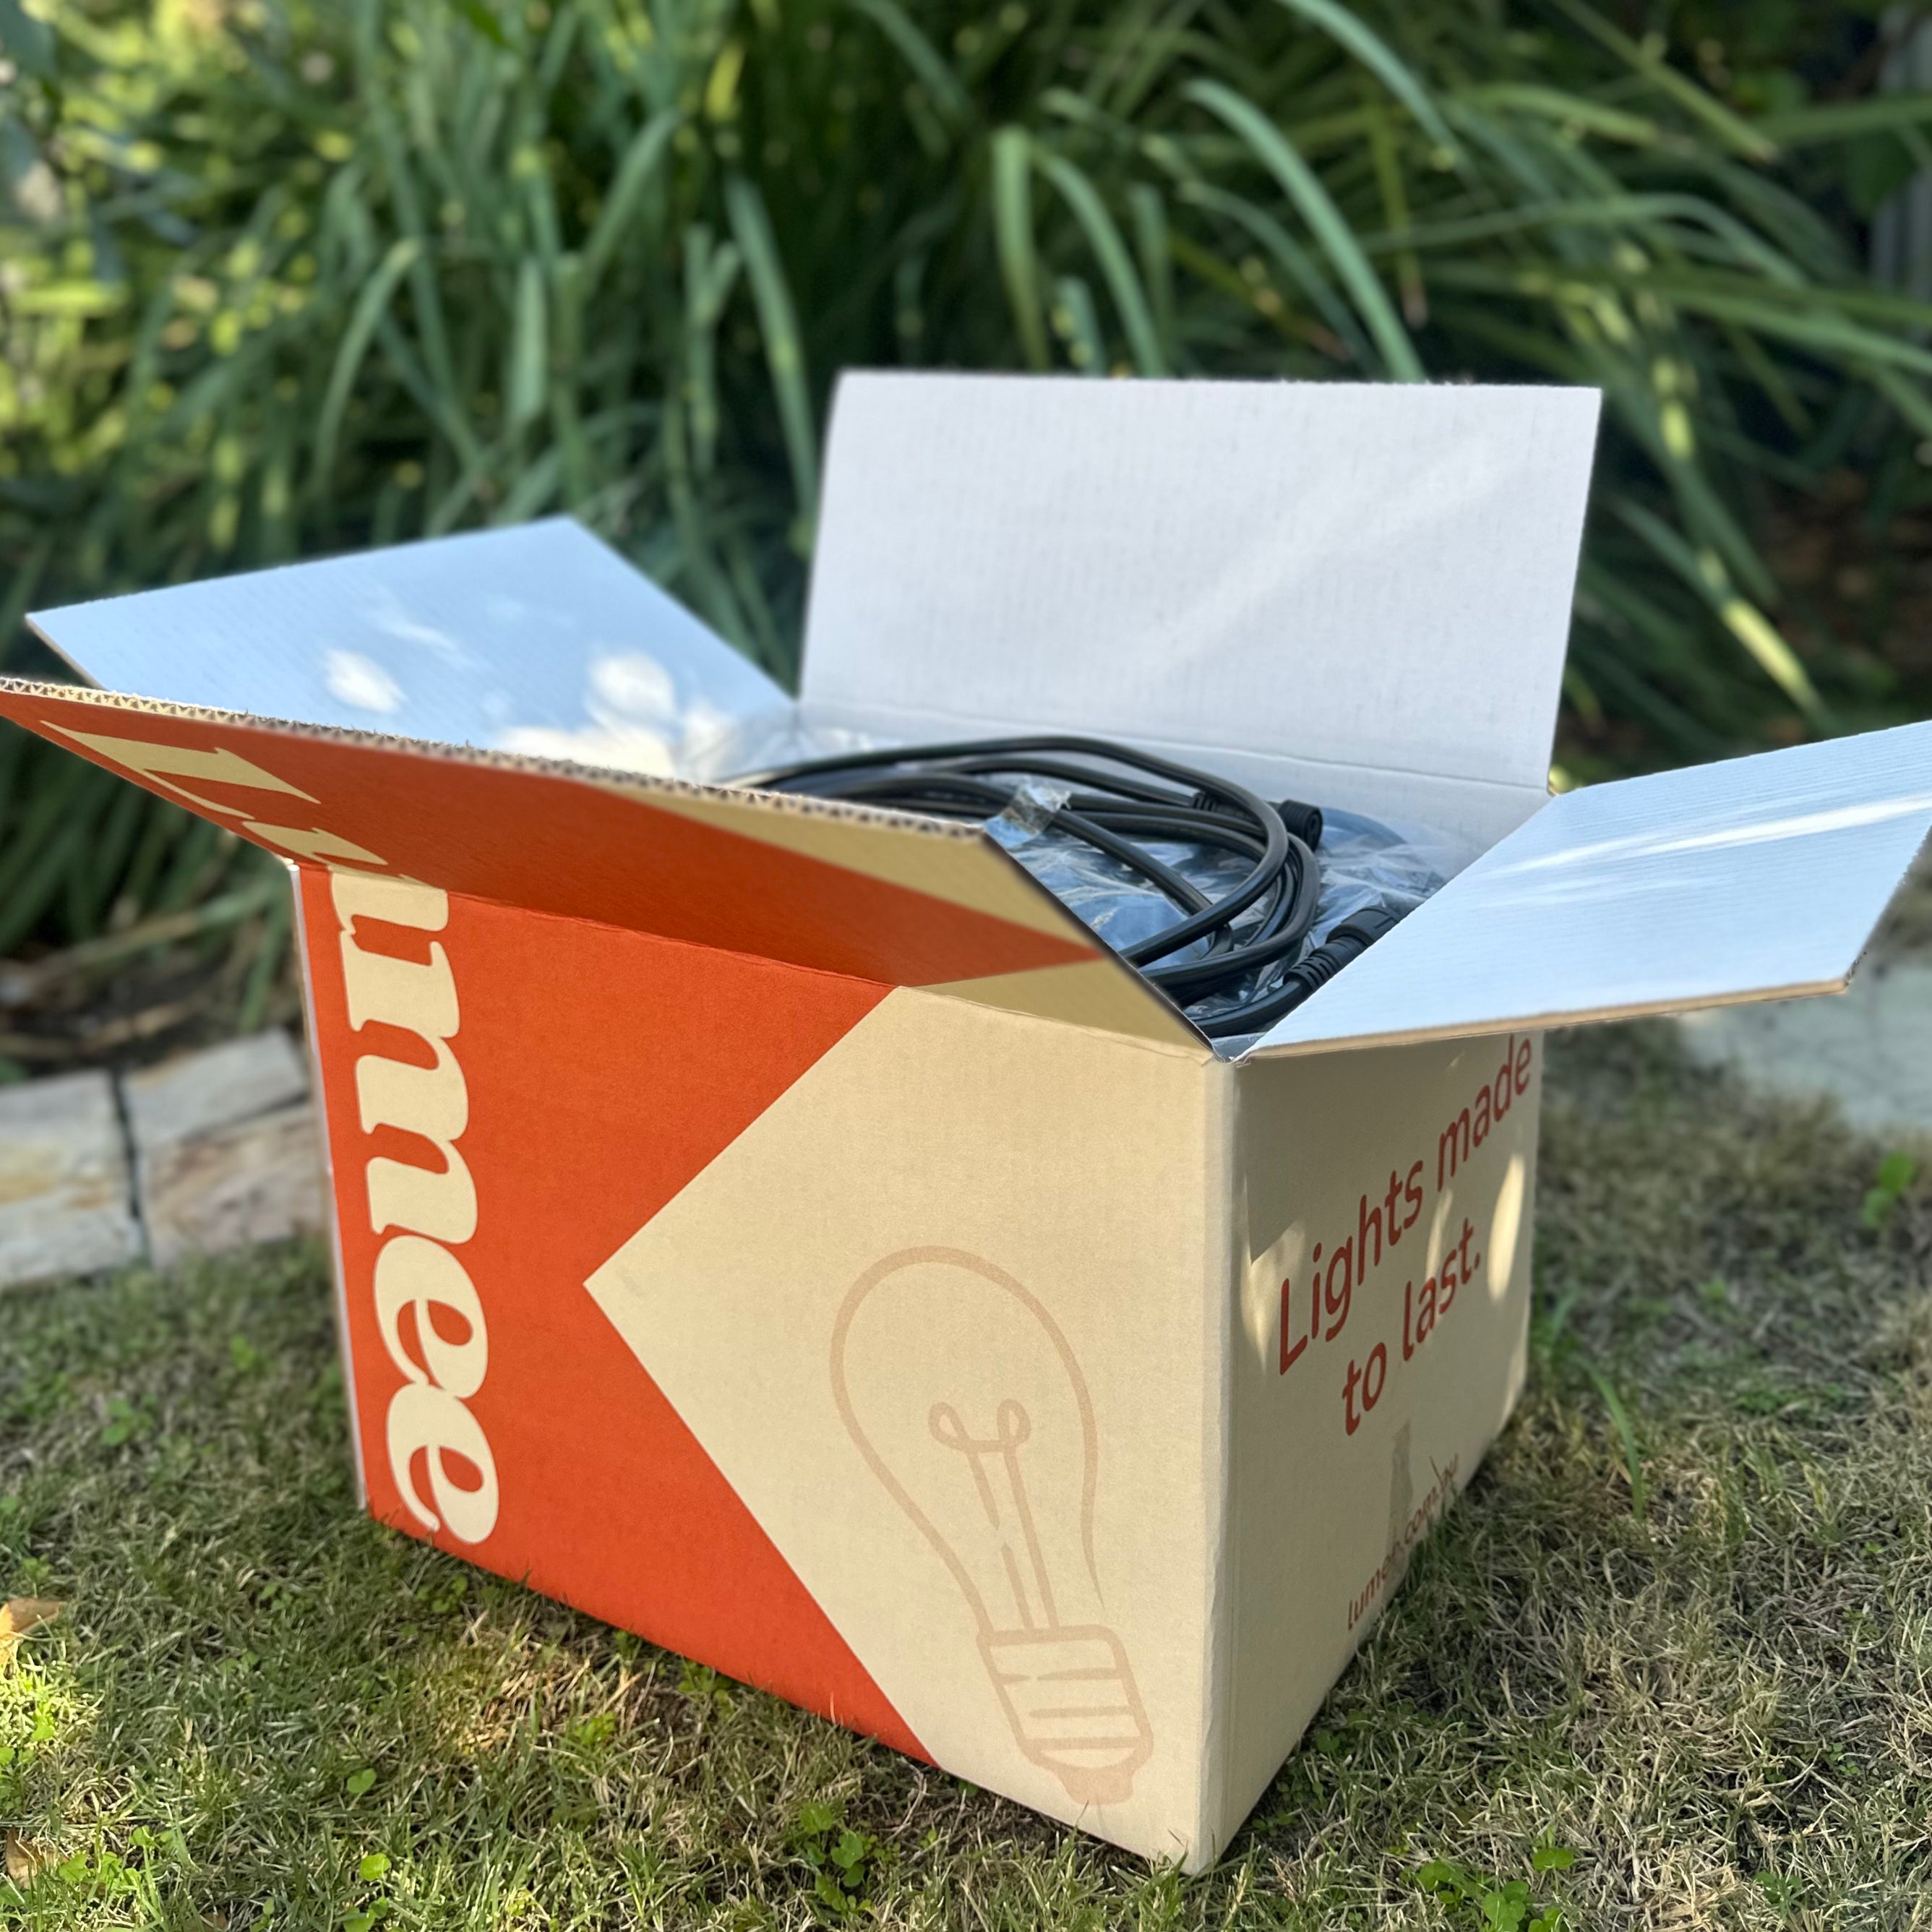
Gather Your Materials
Before you start, gather all the necessary materials. Here's what you'll need:
- Festoon lighting kit
- Screw hooks or eye hooks
- Zip ties or clips
- A ladder
- A measuring tape
- A friend to assist you (optional but helpful)
- Festoon suspension wire kit (if required)
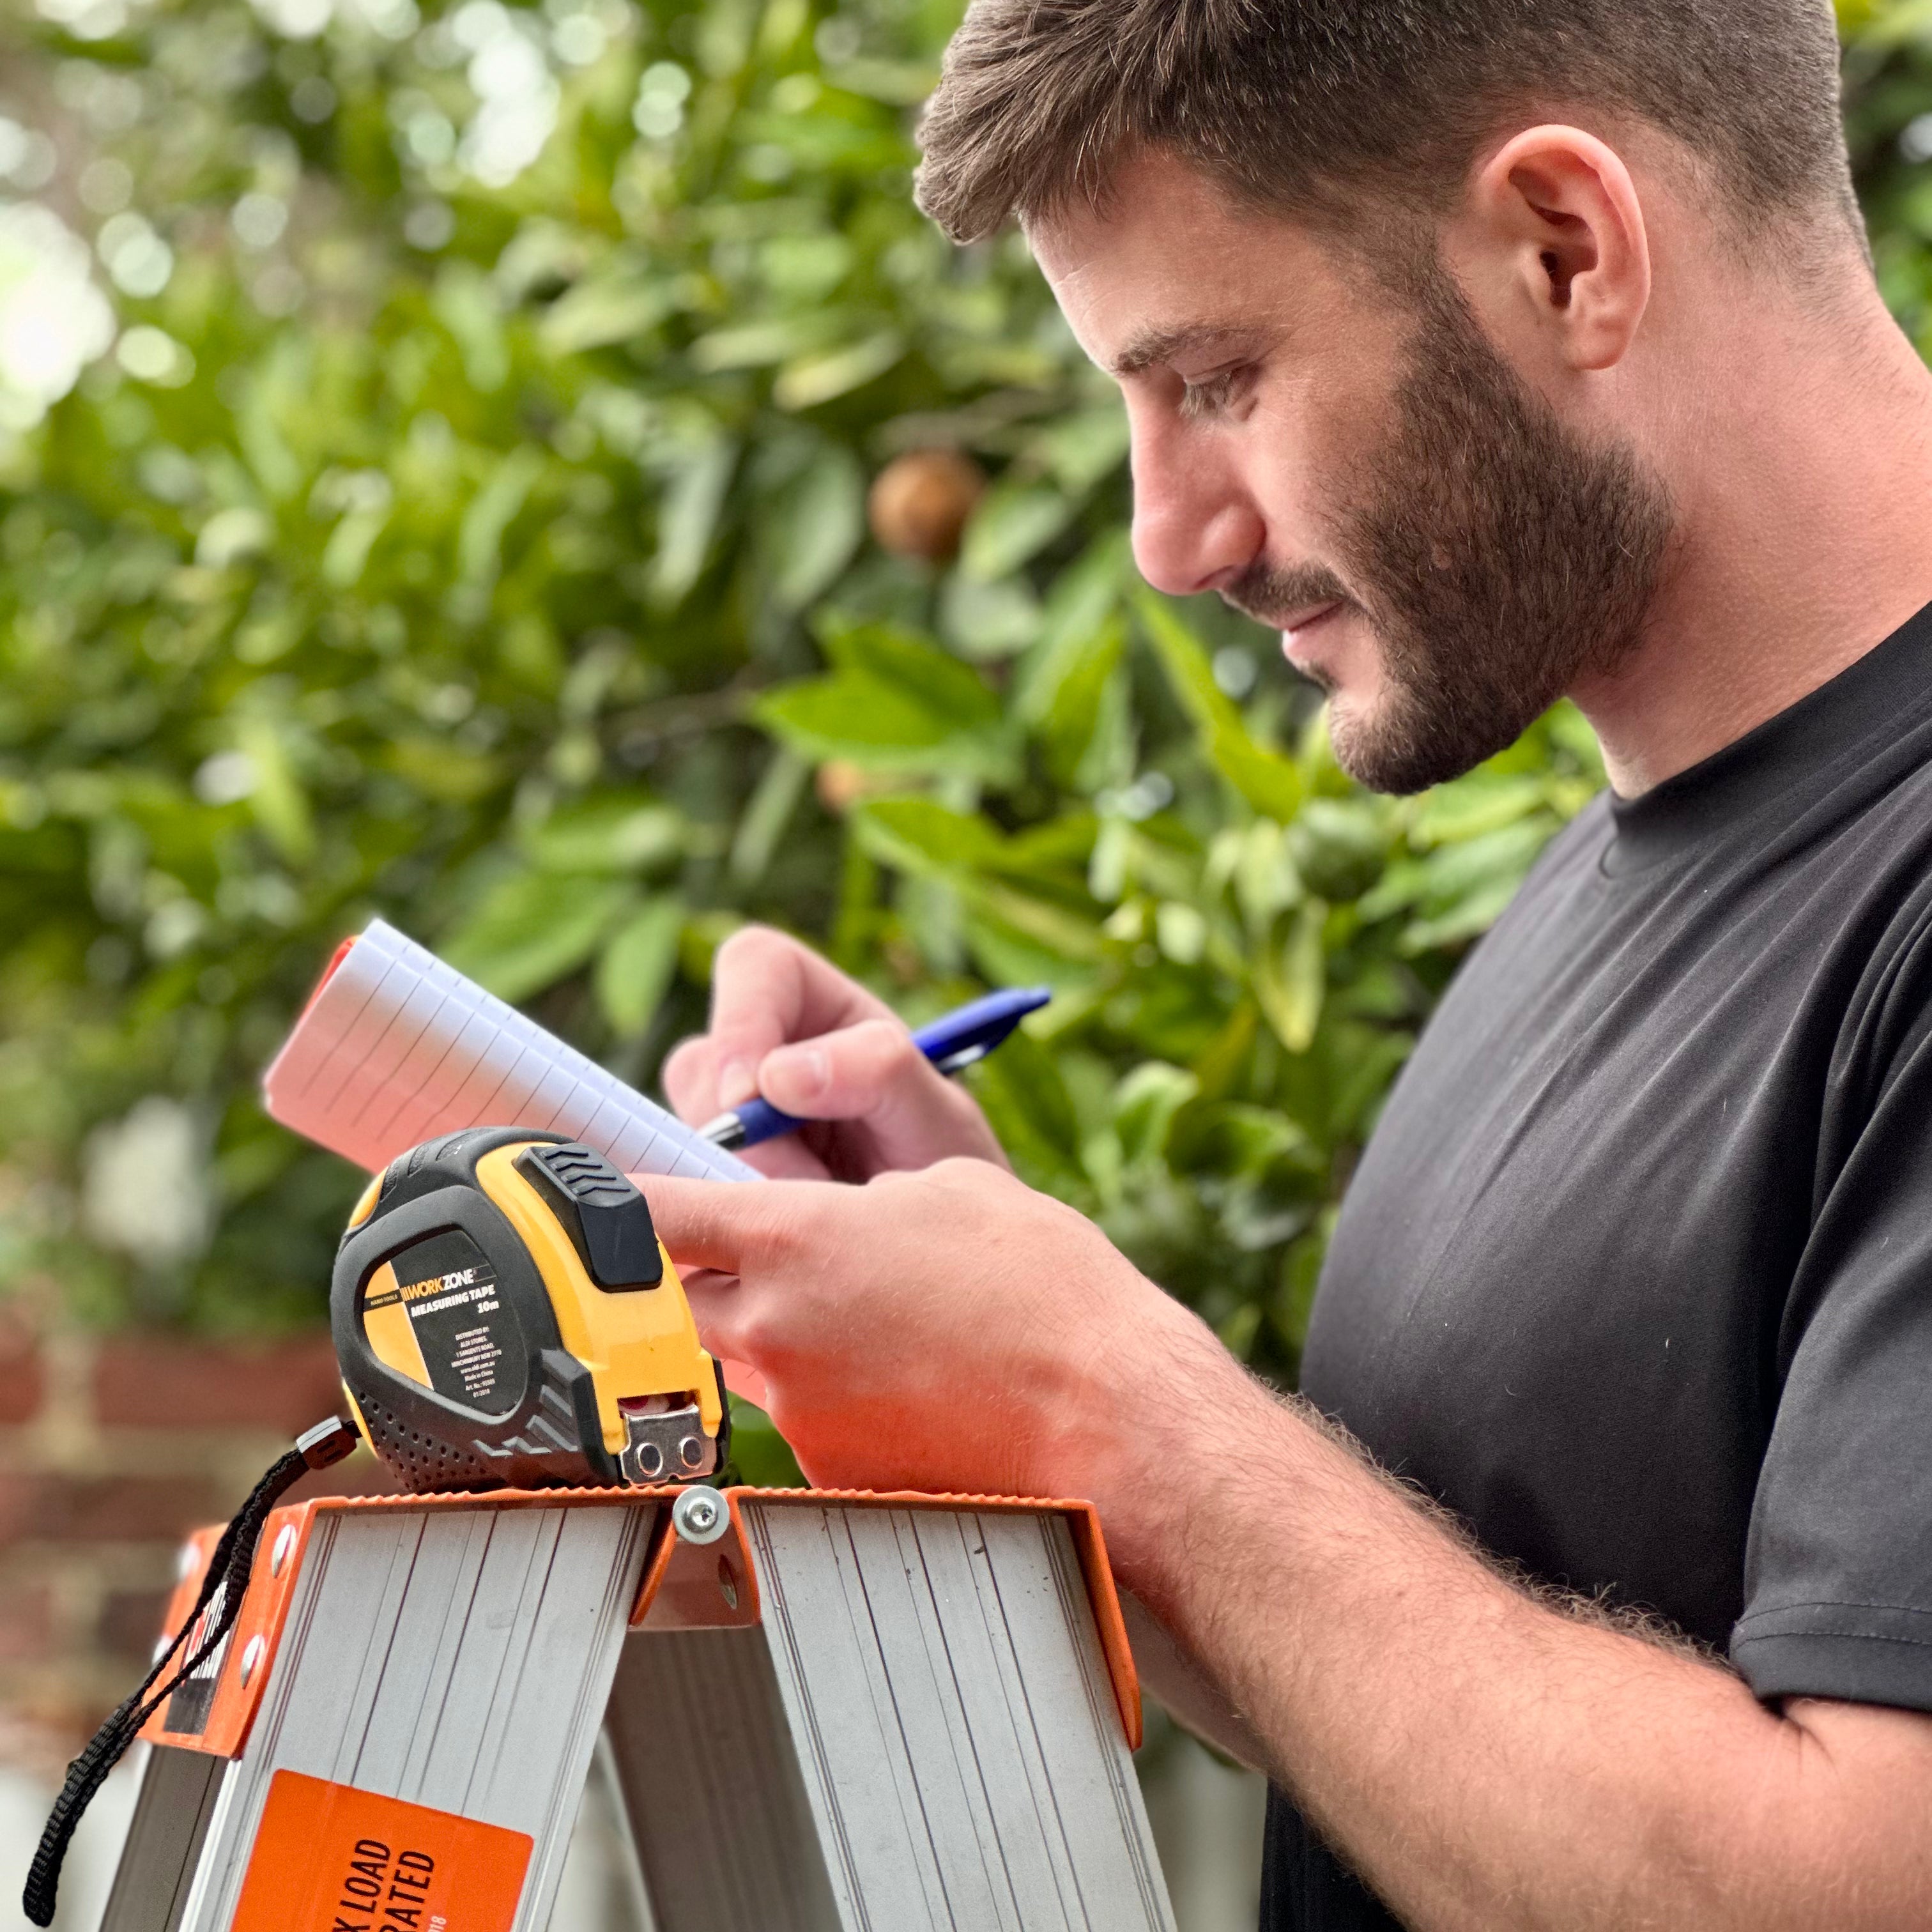
Step 2
Plan Your Layout
One important factor is thoughtful preparation. Take into account the arrangement of your outdoor area, the location of the power source and your anchor points. These can be trees, poles, posts or walls. Draw up a rough sketch, marking where the lights will begin and end.

Step 3
Locate Power Sources
Make sure you have access to an outdoor power outlet to connect the lights. If the power source is distant from where you plan to hang the lights, you may need to purchase an additional extension cable to reach the area. Always use outdoor-rated extension cables for safety.
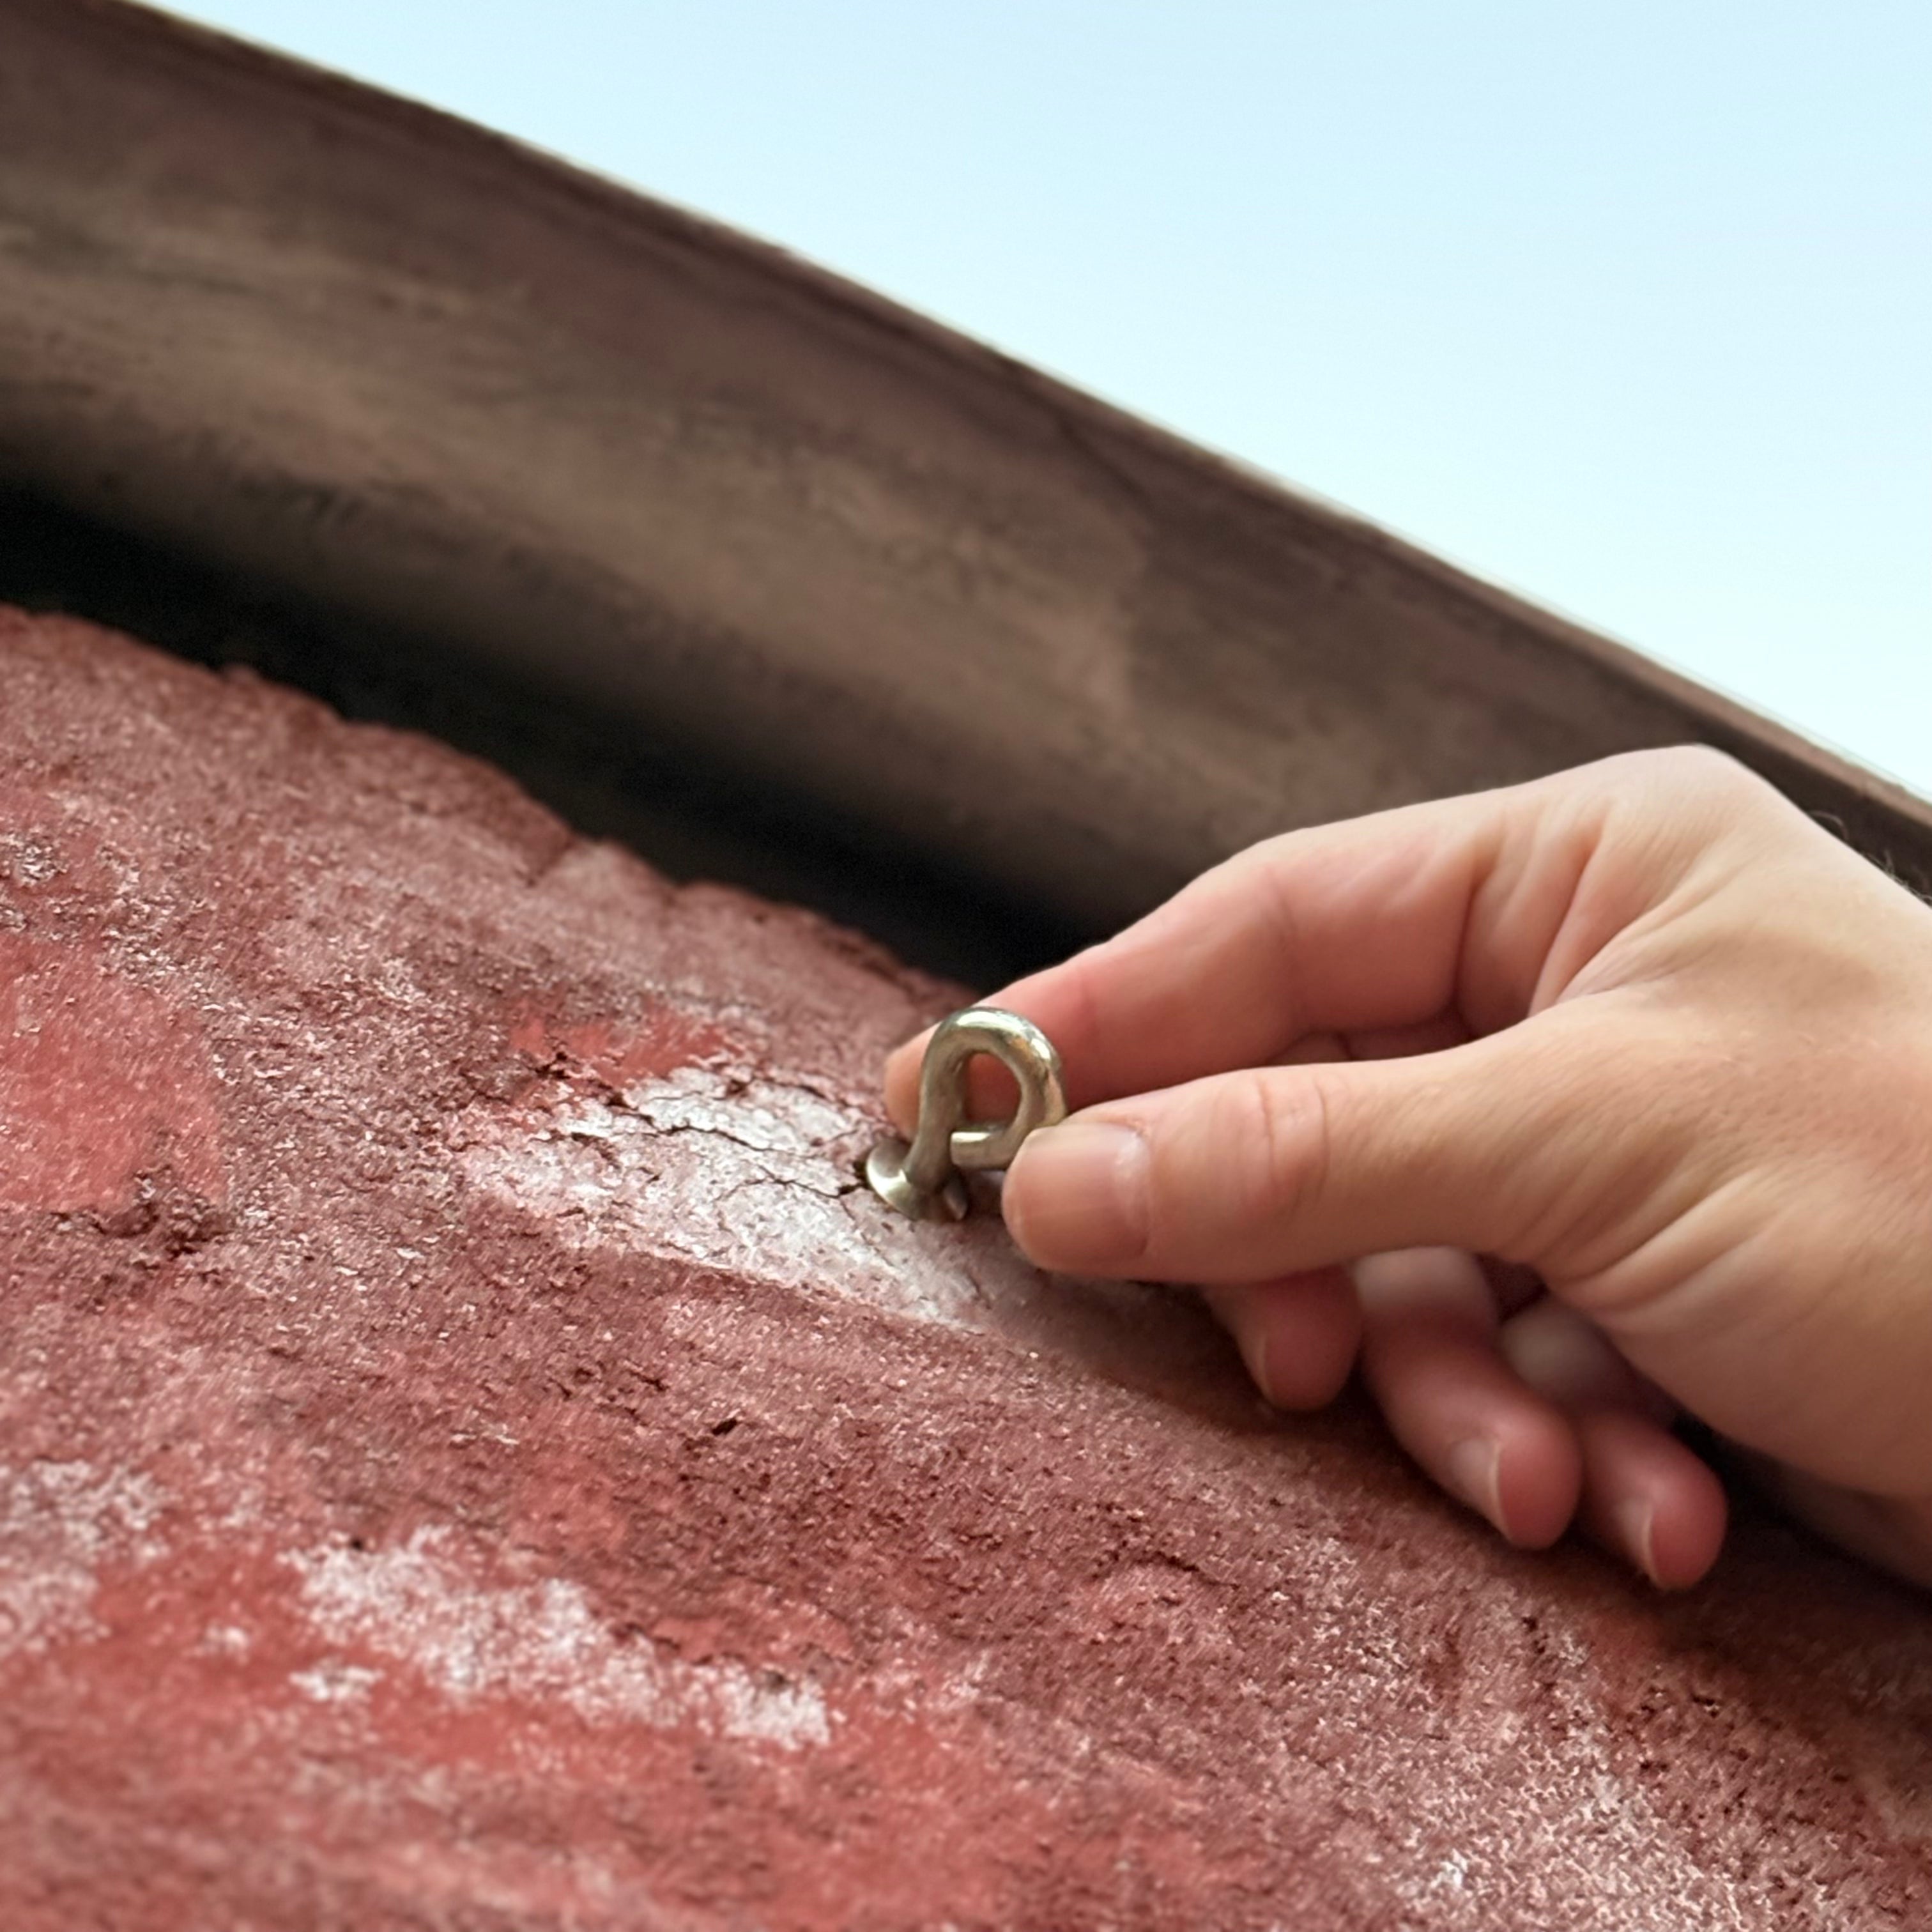
Step 4
Install Screw Hooks
Next, attach screw hooks or eye hooks at the planned hanging points. Support structures like eaves, tree branches, pergolas, or fence posts can be used to anchor the hooks. Make sure the hooks are firmly secured, as they will support the weight of the lights. Maintain consistent spacing between hooks for a balanced, uniform appearance.
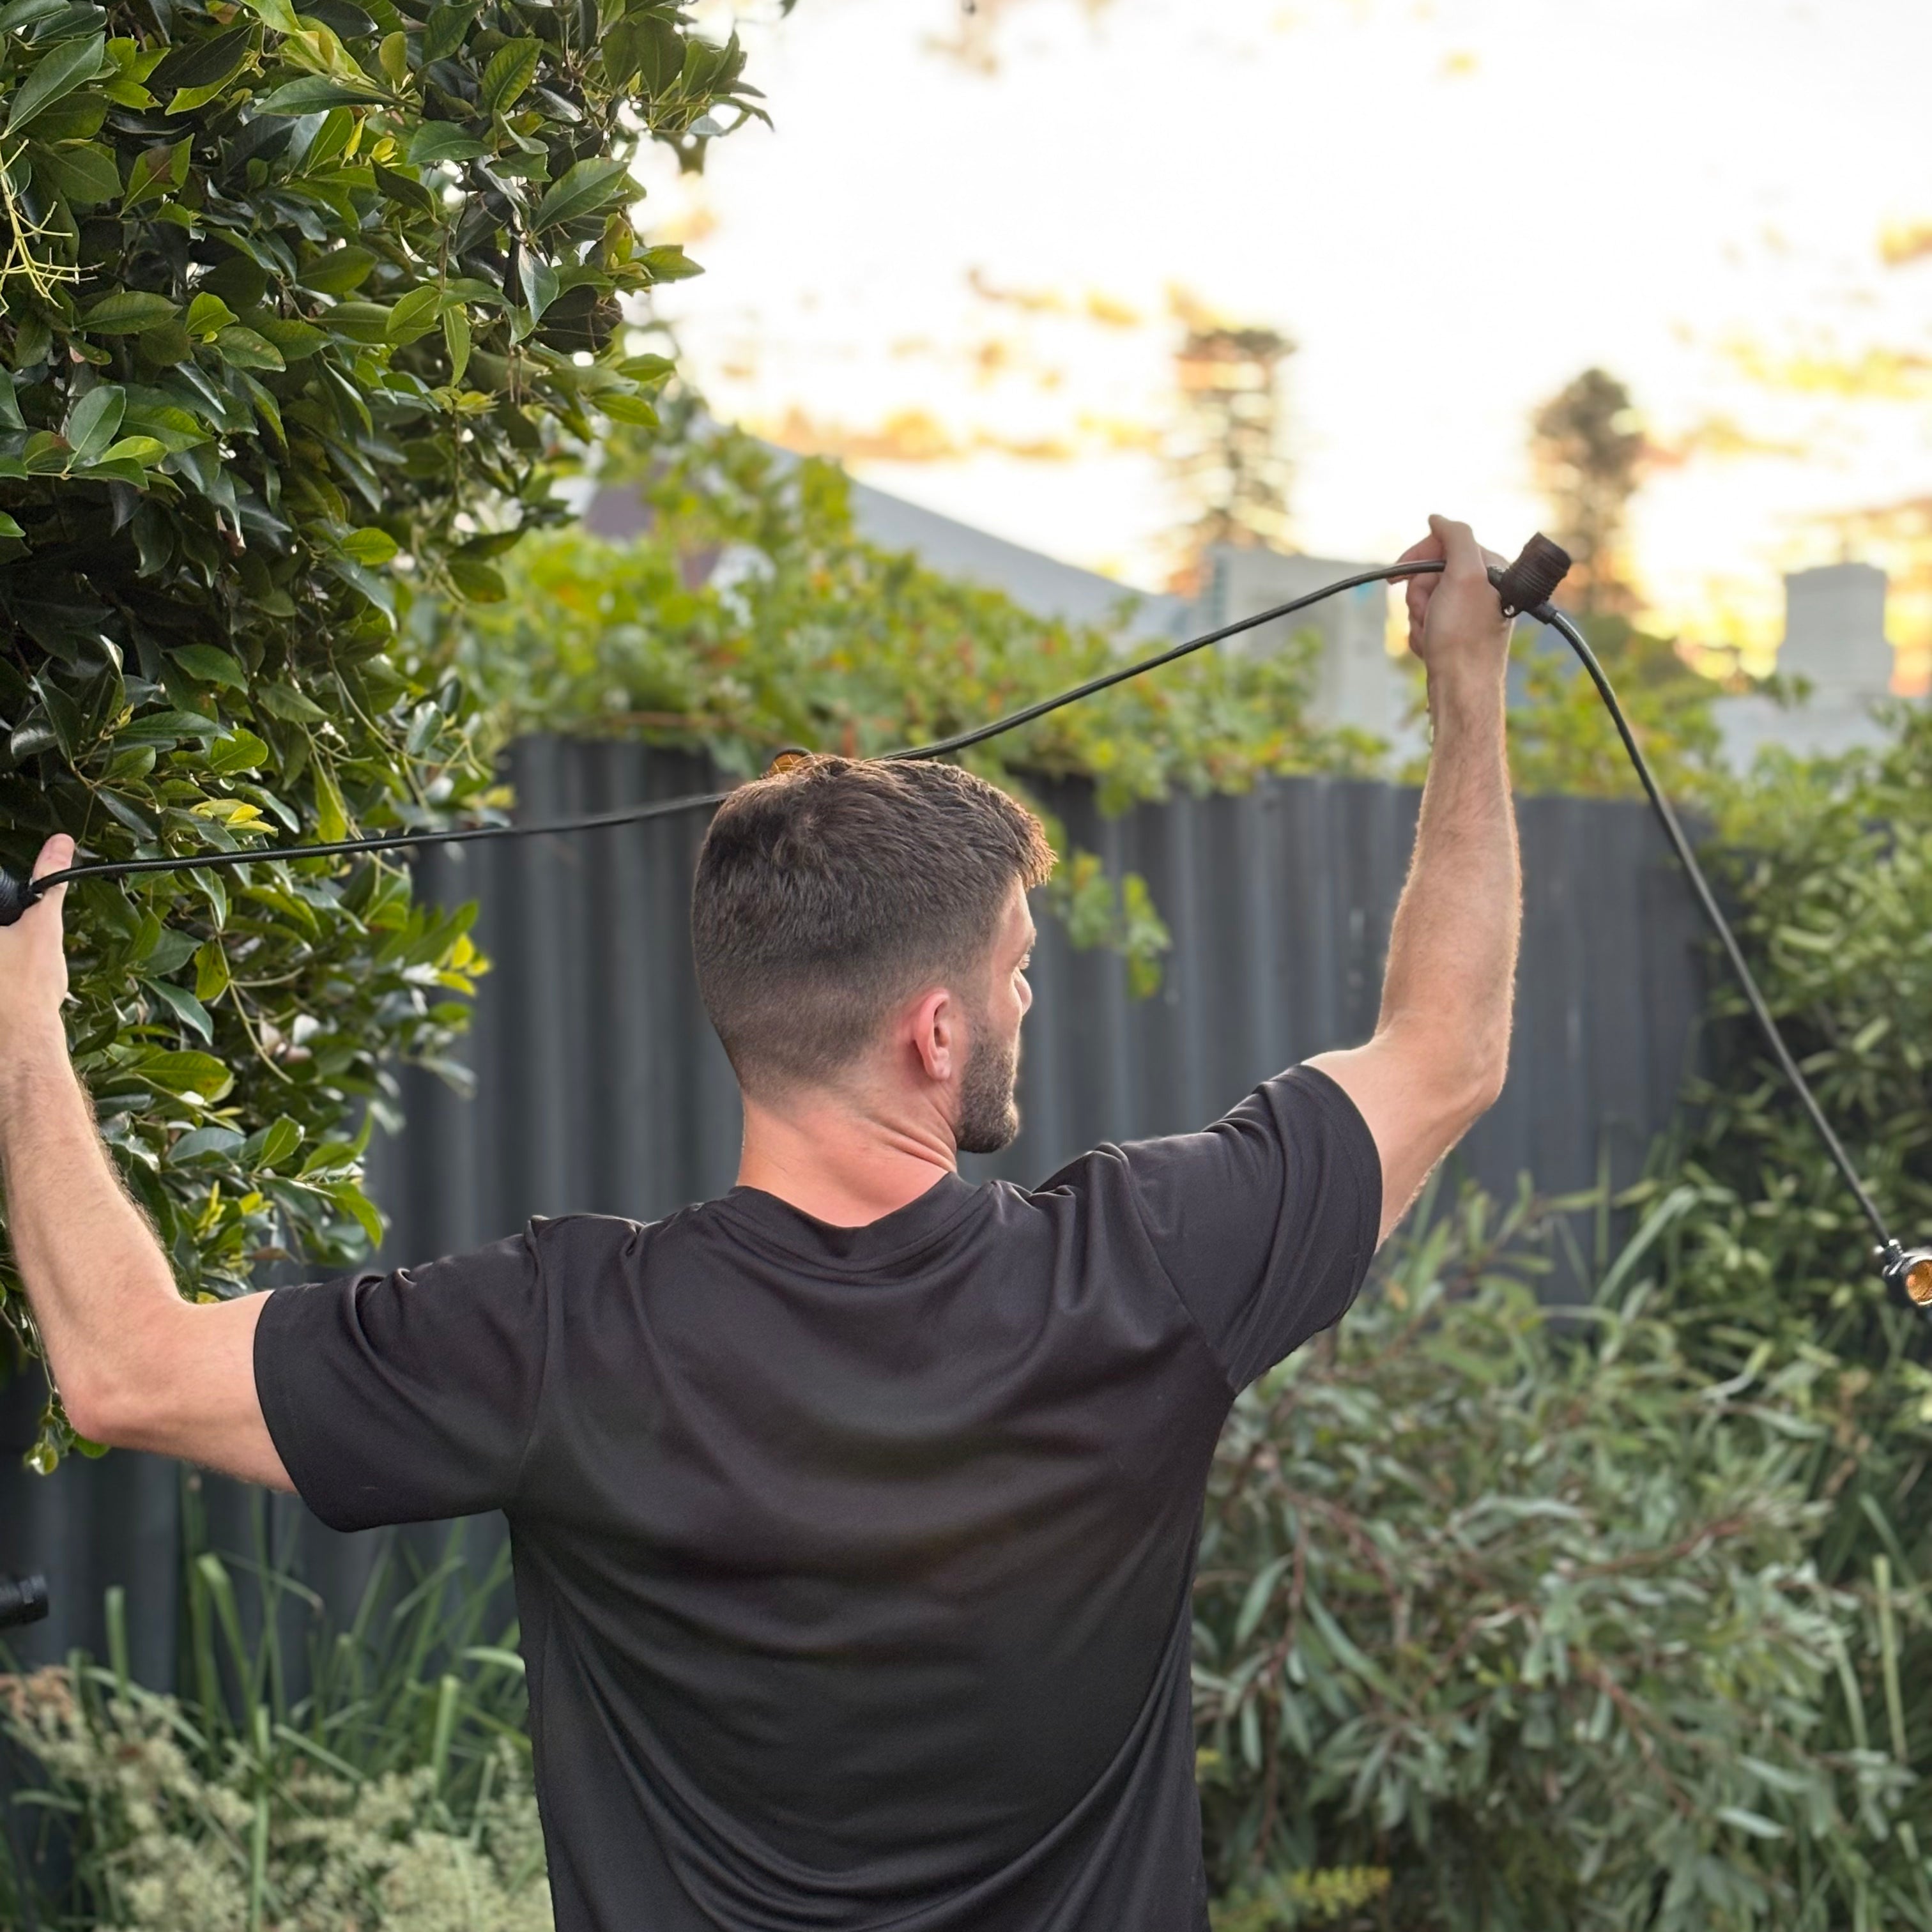
Step 5
Measure and Hang the Lights
Once your hooks are in place, it’s time to measure and hang the lights. Begin at the power source and work toward the farthest point of your design. Here’s how to proceed:
- First, measure the length of your lights to ensure they’ll reach between the hooks.
- For fixings that are spaced more than 7 metres apart, we recommend using a support wire to help keep the lights secure. Support wire should be rustproof. Generally speaking, stainless steel wire will do the job here.
- Start with the first hook near the power source.
- Use zip ties or clips to to securely attach the lights to the wire or support points.
- If you aren't using a support wire, the festoon lights can be safely secured directly onto the fixing points.
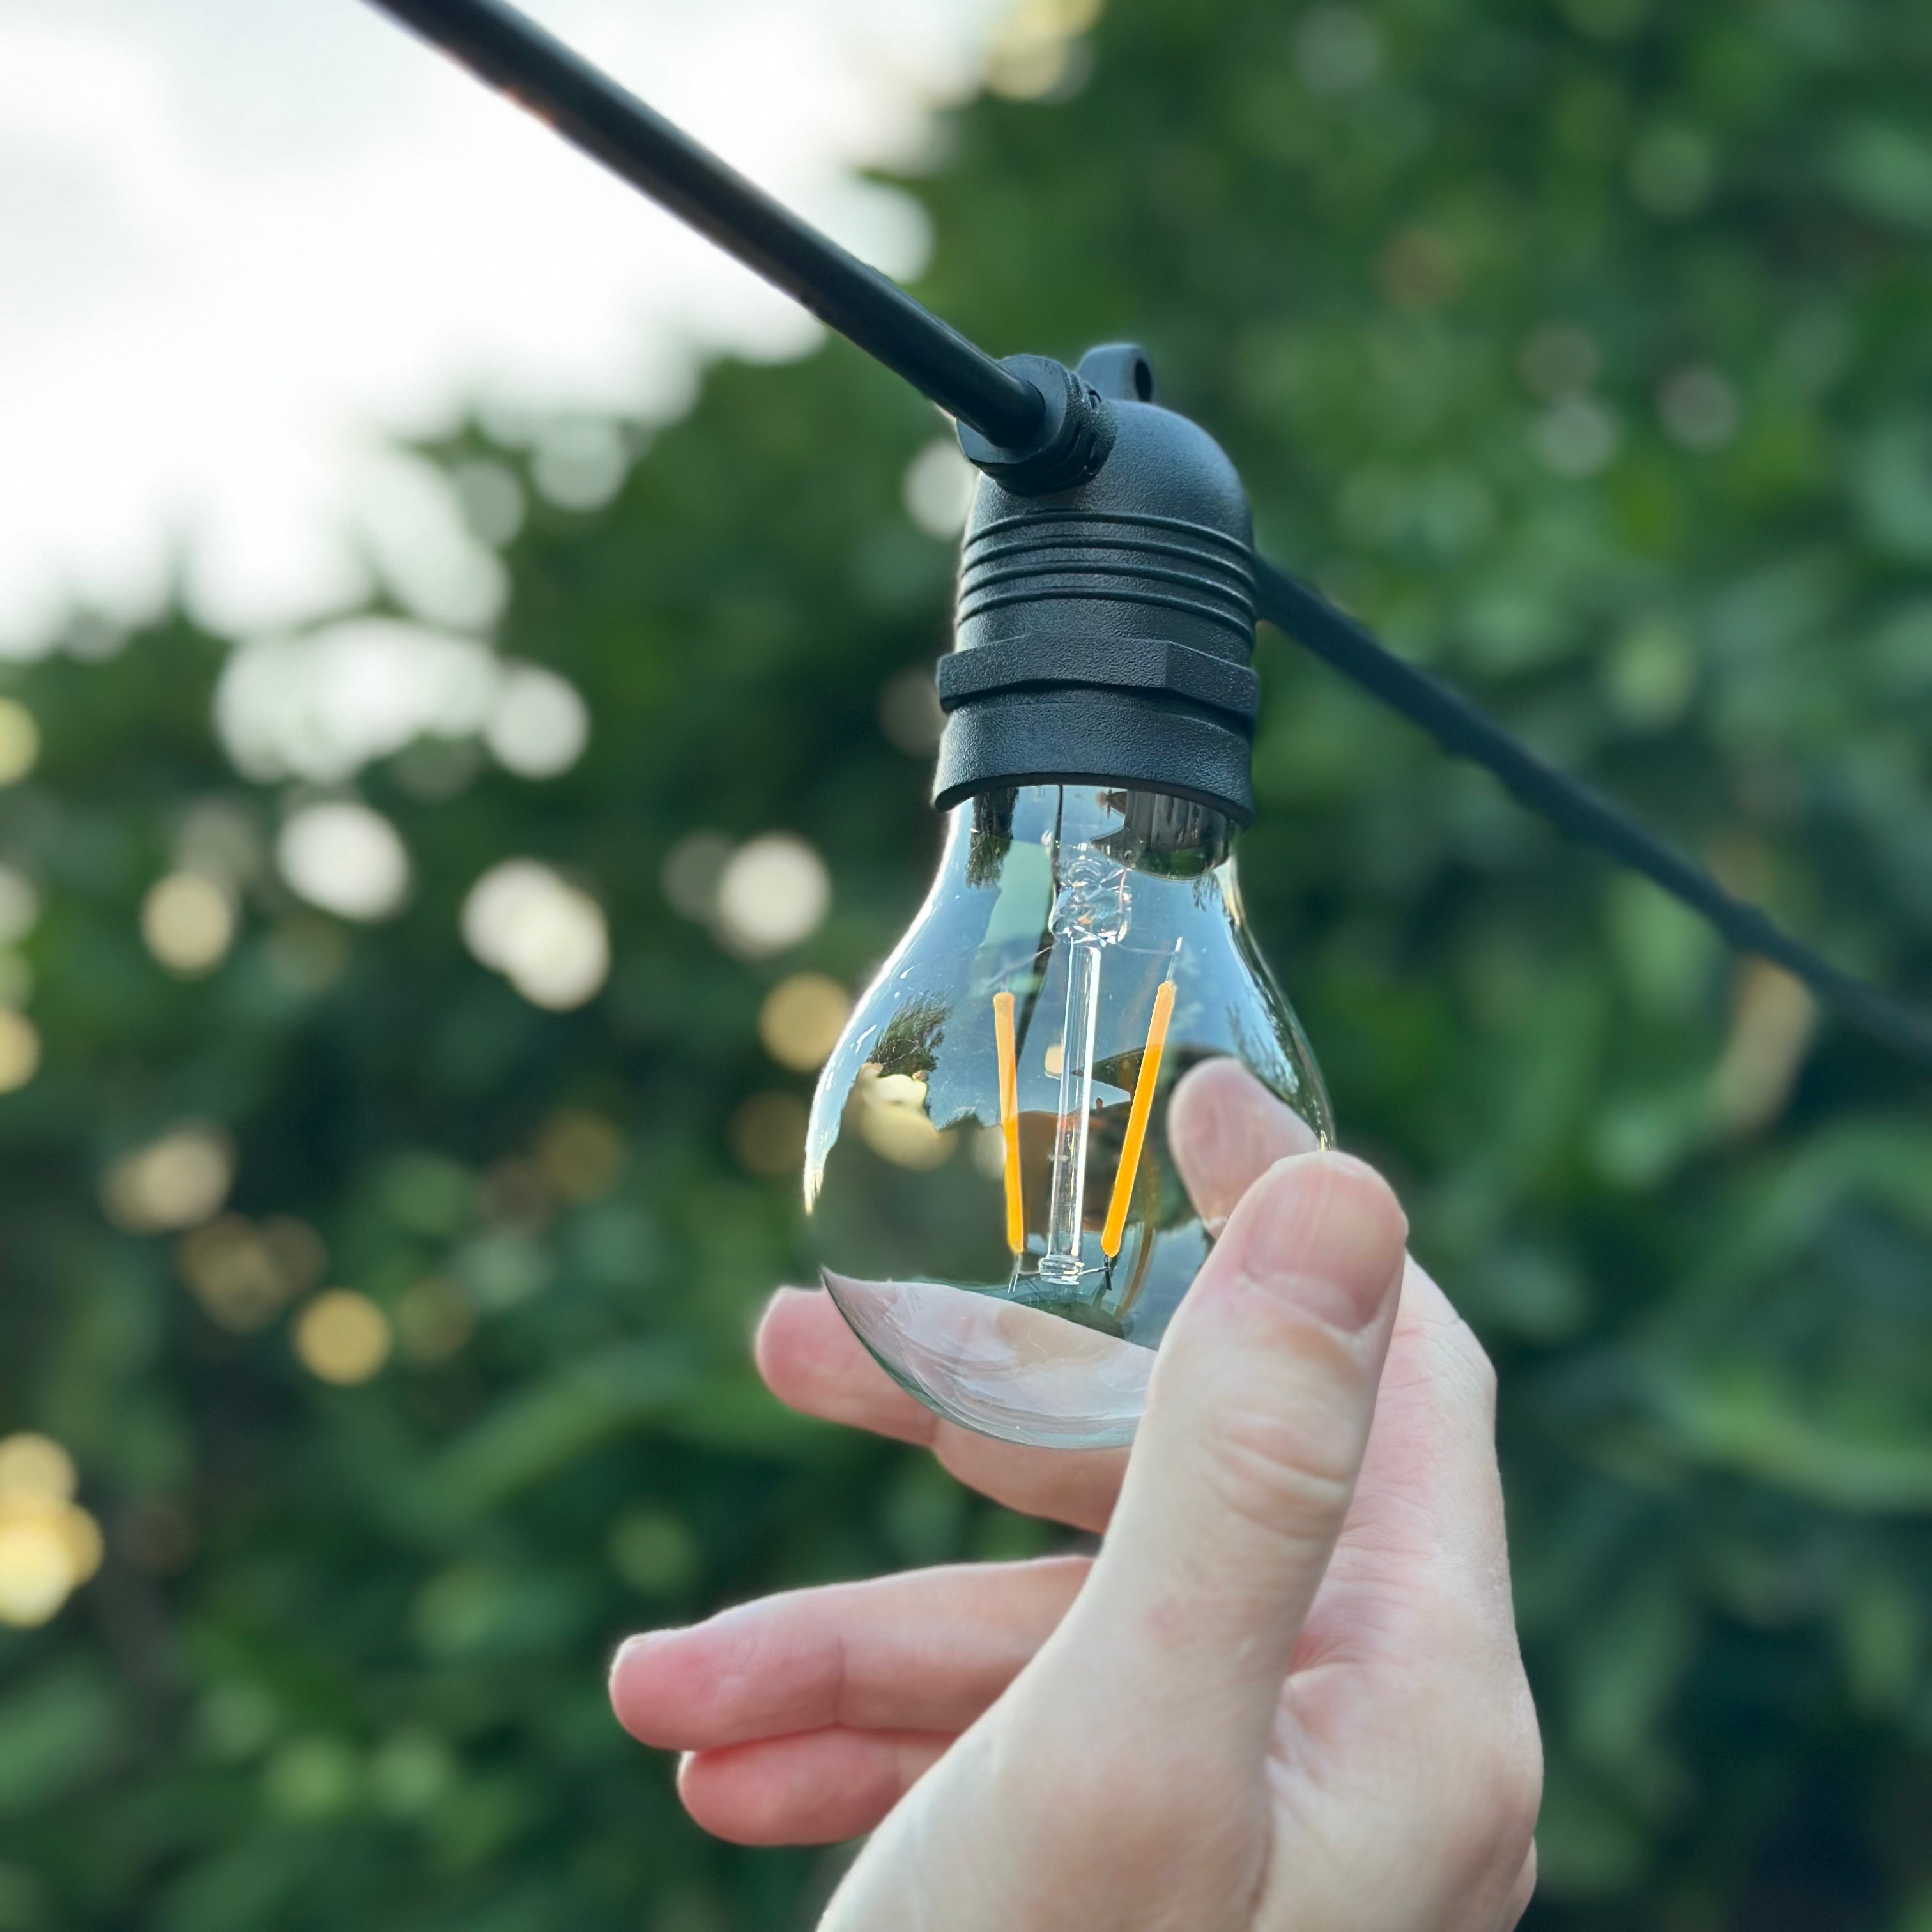
Step 6
Screw In Your LED Globes
It’s now time to screw in each of the LED bulbs before switching the power on. Simply screw each bulb clockwise in the socket until the base of the bulb touches the base of the socket, or can go no further.
Make sure the light bulbs are screwed all the way to create a tight waterproof seal. Use your free hand to grip the base of the socket to assist with this.
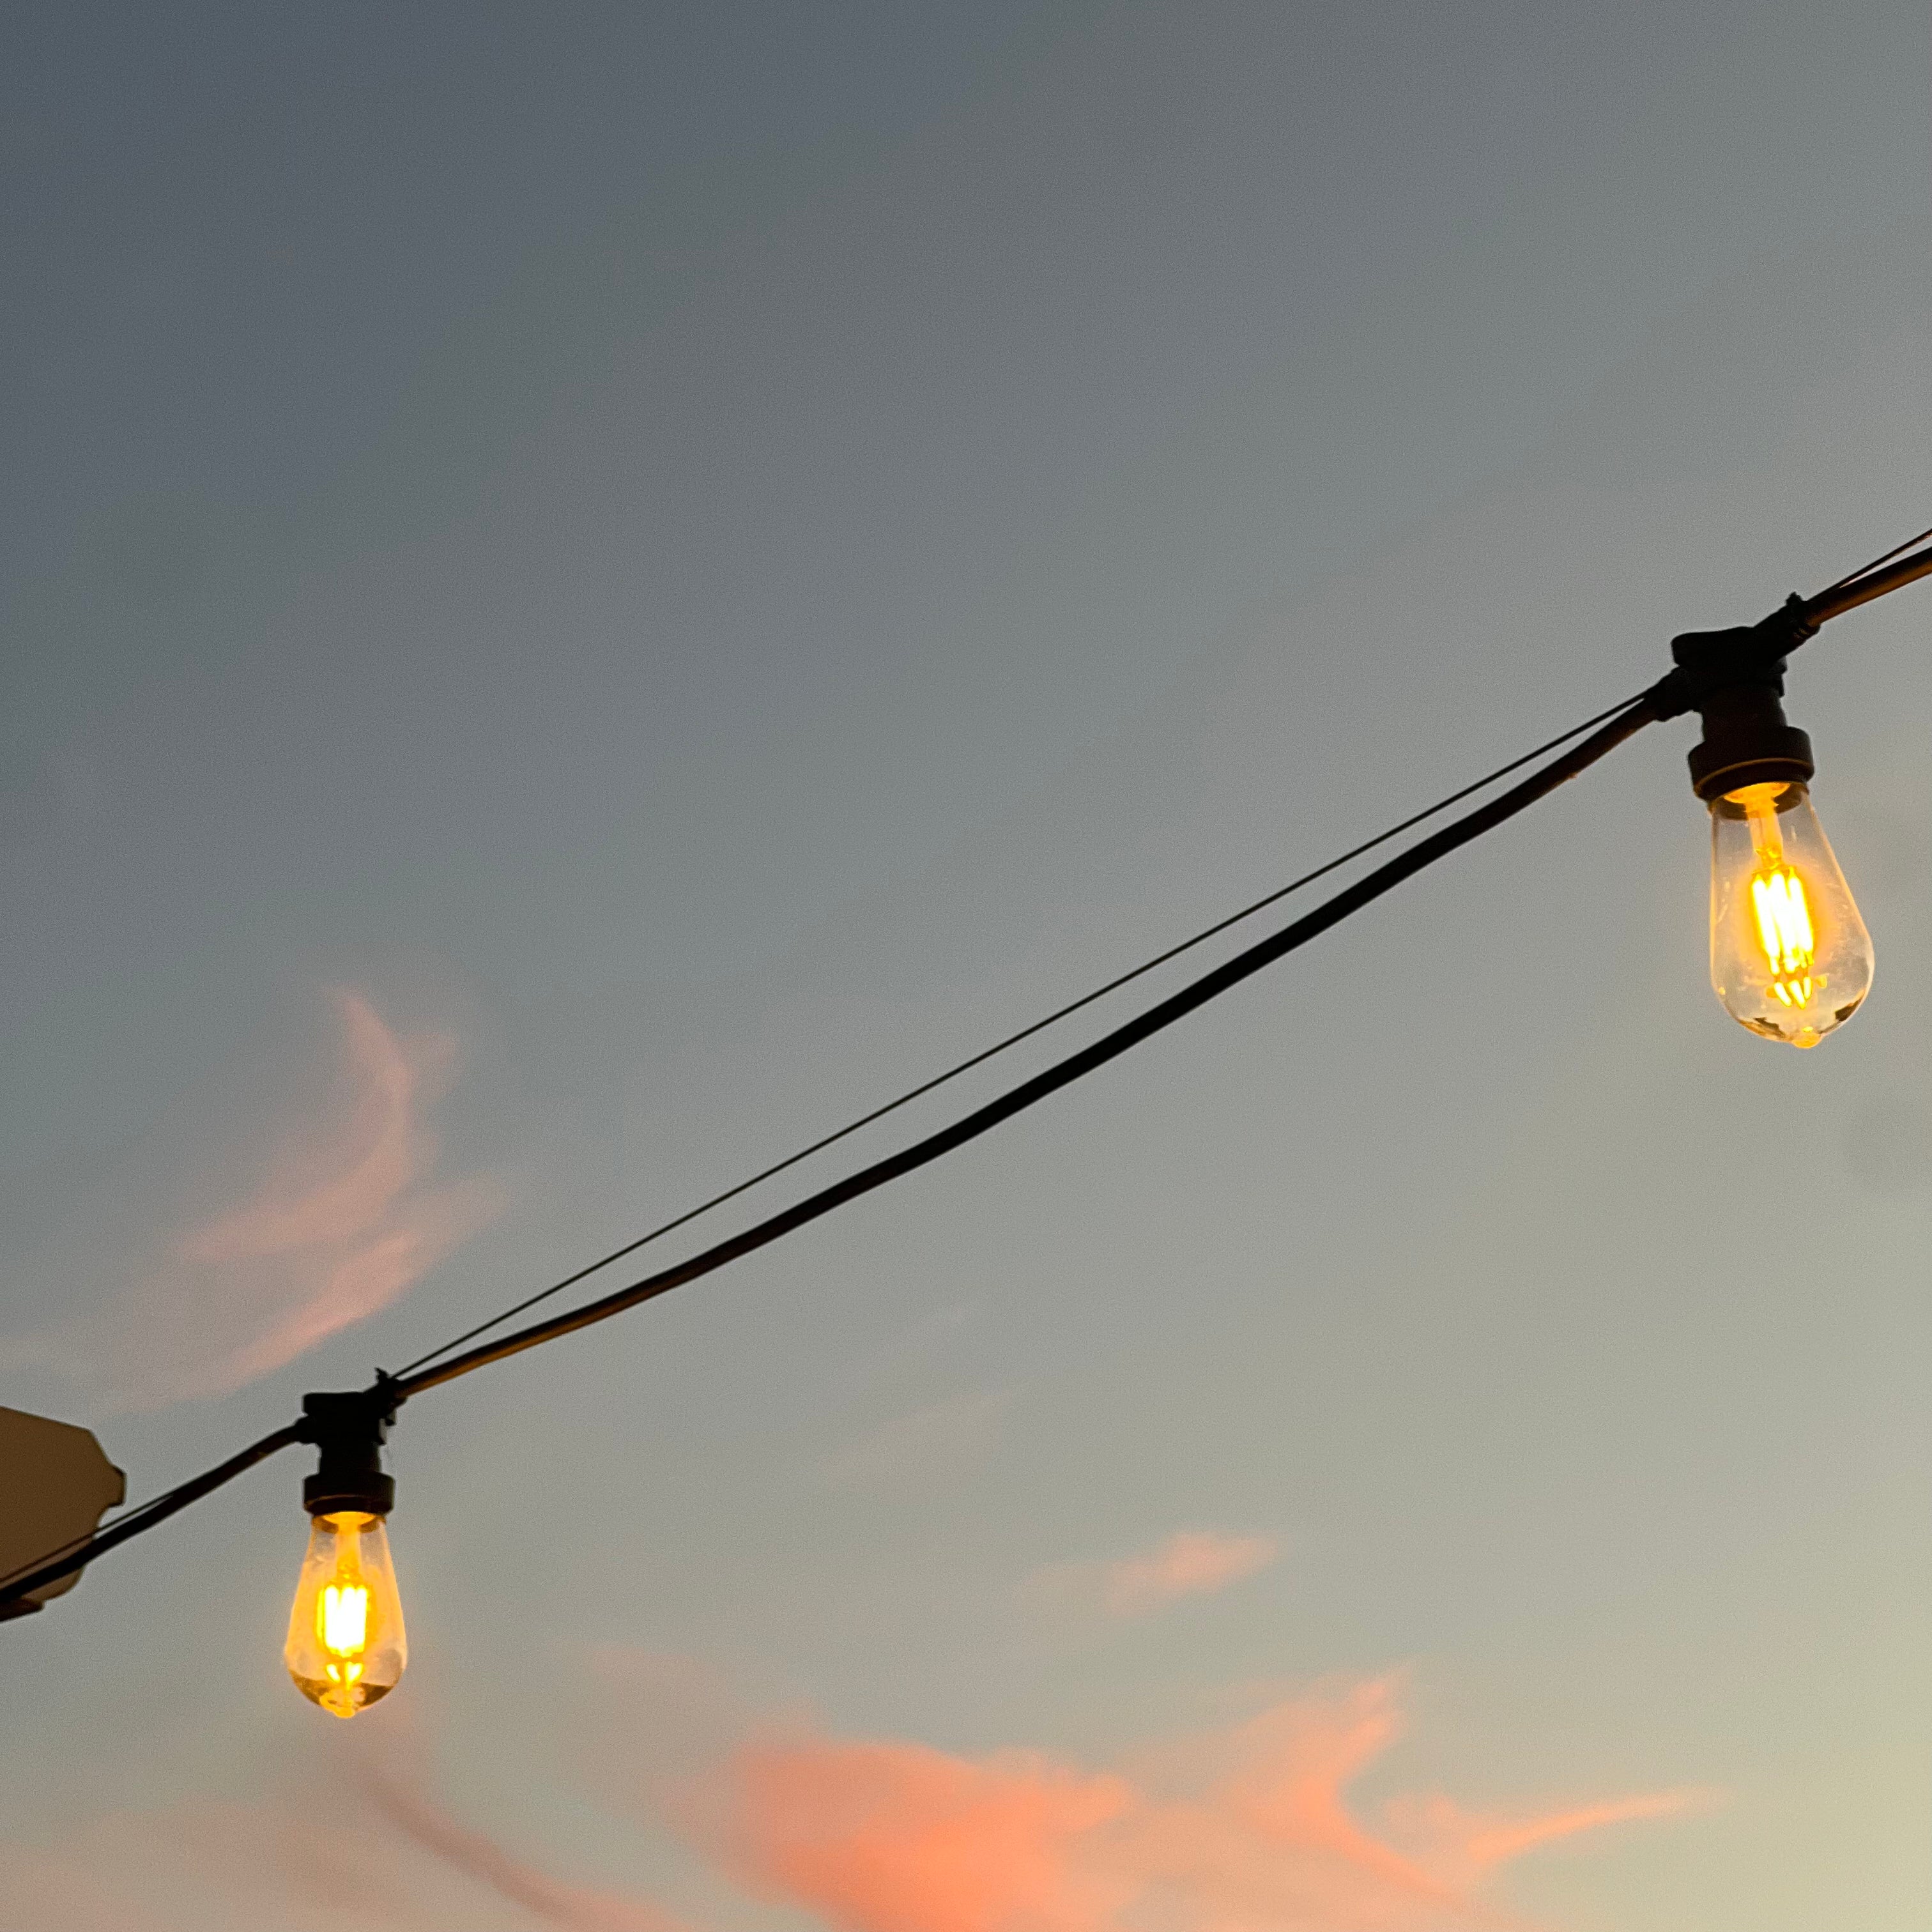
Step 7
Test the Lights
Before completing the installation, plug in the lights to check that everything is working properly. It'll be easier to troubleshoot any issues now before the setup is complete. If you notice any problems, inspect the globes, connections, and power source.
Bonus Tips
- Use LED Globes: LED lights are energy-efficient and last longer than traditional incandescent bulbs. They also emit less heat, making them safer for extended outdoor use.
- Choose the Right Colour Temperature: Consider the colour temperature of the bulbs. We recommend warmer tones (around 2700K) to create a cosy atmosphere.
- Opt for Dimmable Lights: Dimmable ones allow you to adjust the brightness to suit different occasions and moods. All of our globes are dimmable (dimmer switch required).
- Create Patterns: Experiment with different hanging patterns, such as zigzags, parallel lines, or canopies, to add visual interest to your space.